Your Cart is Empty
24HR DISPATCH
24HR DISPATCH
24HR DISPATCH

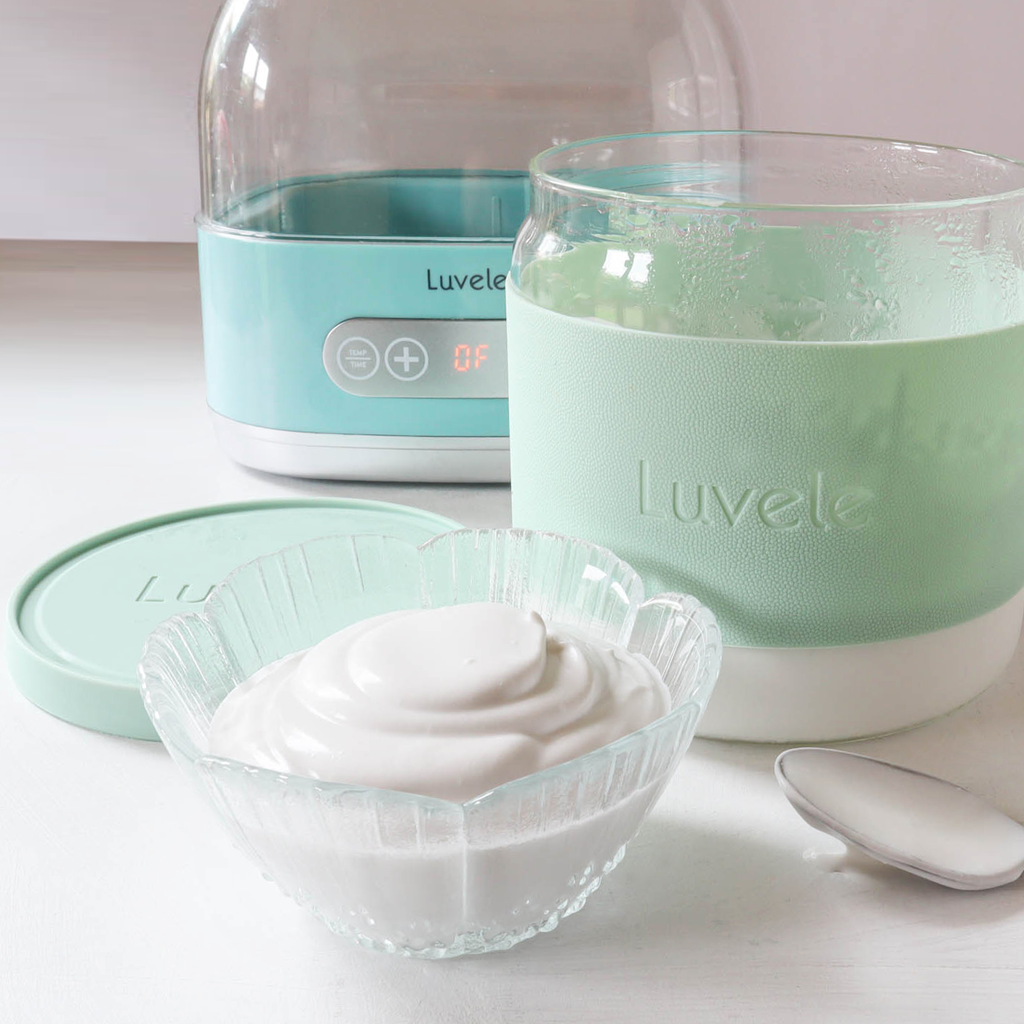
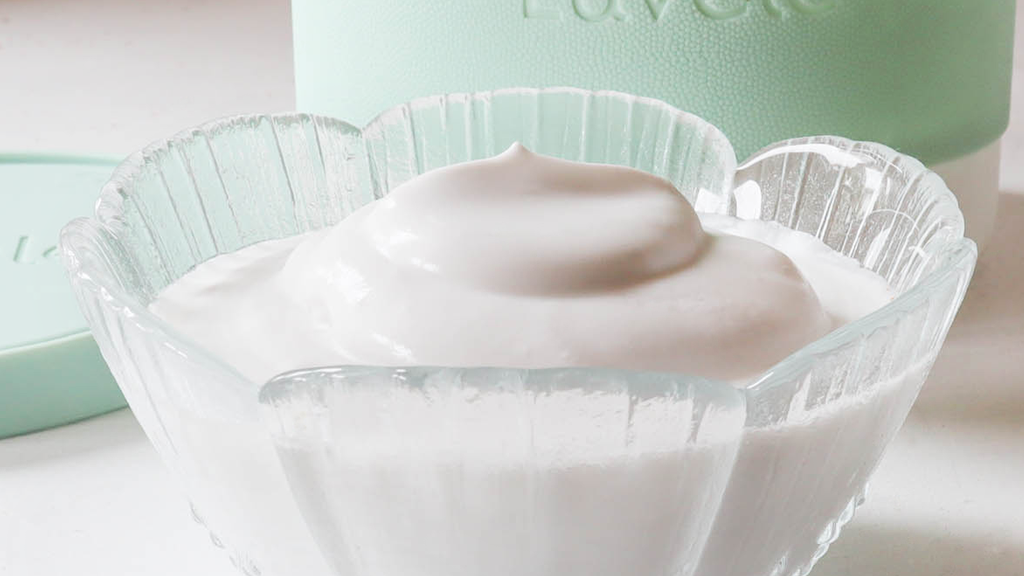
Guaranteed perfect coconut yogurt with no added thickener
Barb Hodgens
Barb Hodgens loves to cook with alternative, healthy whole food ingredients, with a focus on gut health. Barb has overcome her own gut health issues through healthy eating. Share your ideas, comments and photos at the end of this post :)
Coconut yogurt made with ‘AROY D’ coconut milk is a game changer!
If you have ventured into making homemade coconut yogurt, you’ve probably discovered that it’s not easy to achieve the texture of store-bought varieties. Typically, canned coconut milk requires some kind of thickener to turn it into creamy, spoonable yogurt. Without this, what you get is closer to drinking consistency.
Despite our efforts to bring you many different coconut yogurt methods – we still hear that people are struggling. Problem is, there’re so many factors at play; the percentage of coconut pulp to water makes a big difference to the consistency, and some brands leave in a percentage of oil or even use additives to stop the fats separating. So, it’s clear that unless we specify a brand, we’re never going to be able to guarantee your result.
The Luvele test kitchen has opened many cans on the quest to find a widely available brand that makes consistently great yogurt. Finally, the search is over. Aroy-d tastes amazing and if you follow our simple method, it’s so creamy you don’t even need to add a thickener.

According to the label, Aroy-d contains only coconut extract and water and has no gums, stabilisers or preservatives. A quick search online though, and you’ll discover some people question the validity of this information. We have no way of knowing for sure, but because – like all good brands – Aroy-d coconut milk separates into layers (the cream content at the top and the coconut water at the bottom), we have no obvious reason to doubt the label information.
Aroy-d is made in Thailand, comes in cans and tetra packs (BPA free) and is available in most Asian supermarkets or online. It is not organic, but we found this article reassuring. This coconut yogurt method uses cans. We will test the tetra pack very soon.

YOGURT STARTER CULTURE
Unlike traditional dairy milk fermentation, there are no specific strains of bacteria required for making coconut yogurt. Basically, any combination of species, from either a yogurt starter culture or a probiotic capsule or powder will repopulate in coconut milk – if the conditions are right. The only three things needed are food (a little bit of sugar), warmth and time.
You can purchase non-dairy starter culture here.
FERMENTATION TIME
Fermentation time impacts both the number of probiotics in your coconut yogurt and the taste. The longer you ferment your coconut milk the more time the bacteria have to eat the sugar and proliferate and the more tart it will become. To maximise the probiotic potential, we recommend a 12-15 hour fermentation.
FEED THE BACTERIA SUGAR
In dairy based yogurt production, bacteria in the starter culture eat the milk’s natural sugars, (lactose) during fermentation. Canned coconut milk doesn’t have as much natural sugar available to feed the bacteria and ensure the culturing process takes place. The starter culture (or probiotic) must have plenty to feed on to ensure the culturing process continues for the full duration of the fermentation. One teaspoon of white sugar or one tablespoon of pasteurised honey is enough to kick start fermentation. Raw honey may have an antibiotic effect and is therefore not suitable for making yogurt.

PREPARATION
It is recommended that you sterilise your yogurt making jar and utensils beforehand. We have always found it is enough to wash in hot soapy water, then rinse in boiling water before use.


Guaranteed perfect coconut yogurt with no added thickener
Luvele
Rated 4.0 stars by 24 users
If you have ventured into making homemade coconut yogurt, you’ve probably discovered that it’s not easy to achieve the texture of store-bought varieties. Typically, canned coconut milk requires some kind of thickener to turn it into creamy, spoonable yogurt. Without this, what you get is closer to drinking consistency.
Ingredients
- 3 x 400 ml cans of Aroy-d coconut milk (or approx. equivalent in tetra pack)
- 1 teaspoon of white sugar or 1 tablespoon of pasteurised honey
- Yogurt starter culture or probiotic powder
Directions
- Place the Aroy-d canned coconut milk in the fridge overnight or in the freezer for 30 minutes prior to opening. Chilling the coconut milk allows the cream content to set firm at the top allowing easy separation from the coconut water at the bottom.
Open the cans and spoon only the thick, white coconut cream into your glass yogurt making jar. The bottom quarter of the can will be clear coconut water which is not required in the recipe. Don’t throw it away though - coconut water is wonderful added to smoothies, chia puddings & curries. Store the coconut water in the fridge for 2-3 days or freeze for several months.
Add the starter culture or probiotic and sugar or honey and stir it in. The chilled coconut milk is quite thick so does not stir easily. Don’t worry.
Put the lid firmly on the glass yogurt jar and place the jar into your yogurt maker. Pour water slowly into the base. (The water must not be filled over the ‘tall line’ indicated on the inside wall of the maker). Then place the cover lid on top. Use the digital control panel to set the temperature to 38° C, the time to 12-15 hours and then press ‘confirm’ to begin incubation.
When complete, switch the maker off and place the jar of yogurt in the fridge for at least 6 hours to chill and set.
- Once chilled, the coconut yogurt will be firm. It may have a small amount of separated coconut water and appear ‘cracked’ – this is normal.
Once stirred it will aerate and become creamy. Note: The coconut water may continue to separate in the fridge. Just stir before using to incorporate.
Return to the fridge or serve and enjoy.
Recipe Video
PIN THIS RECIPE

BUY YOUR DAIRY-FREE STARTER CULTURE HERE


Guaranteed perfect coconut yogurt with no added thickener
Coconut yogurt made with ‘AROY D’ coconut milk is a game changer!
If you have ventured into making homemade coconut yogurt, you’ve probably discovered that it’s not easy to achieve the texture of store-bought varieties. Typically, canned coconut milk requires some kind of thickener to turn it into creamy, spoonable yogurt. Without this, what you get is closer to drinking consistency.
Despite our efforts to bring you many different coconut yogurt methods – we still hear that people are struggling. Problem is, there’re so many factors at play; the percentage of coconut pulp to water makes a big difference to the consistency, and some brands leave in a percentage of oil or even use additives to stop the fats separating. So, it’s clear that unless we specify a brand, we’re never going to be able to guarantee your result.
The Luvele test kitchen has opened many cans on the quest to find a widely available brand that makes consistently great yogurt. Finally, the search is over. Aroy-d tastes amazing and if you follow our simple method, it’s so creamy you don’t even need to add a thickener.

According to the label, Aroy-d contains only coconut extract and water and has no gums, stabilisers or preservatives. A quick search online though, and you’ll discover some people question the validity of this information. We have no way of knowing for sure, but because – like all good brands – Aroy-d coconut milk separates into layers (the cream content at the top and the coconut water at the bottom), we have no obvious reason to doubt the label information.
Aroy-d is made in Thailand, comes in cans and tetra packs (BPA free) and is available in most Asian supermarkets or online. It is not organic, but we found this article reassuring. This coconut yogurt method uses cans. We will test the tetra pack very soon.

YOGURT STARTER CULTURE
Unlike traditional dairy milk fermentation, there are no specific strains of bacteria required for making coconut yogurt. Basically, any combination of species, from either a yogurt starter culture or a probiotic capsule or powder will repopulate in coconut milk – if the conditions are right. The only three things needed are food (a little bit of sugar), warmth and time.
You can purchase non-dairy starter culture here.
FERMENTATION TIME
Fermentation time impacts both the number of probiotics in your coconut yogurt and the taste. The longer you ferment your coconut milk the more time the bacteria have to eat the sugar and proliferate and the more tart it will become. To maximise the probiotic potential, we recommend a 12-15 hour fermentation.
FEED THE BACTERIA SUGAR
In dairy based yogurt production, bacteria in the starter culture eat the milk’s natural sugars, (lactose) during fermentation. Canned coconut milk doesn’t have as much natural sugar available to feed the bacteria and ensure the culturing process takes place. The starter culture (or probiotic) must have plenty to feed on to ensure the culturing process continues for the full duration of the fermentation. One teaspoon of white sugar or one tablespoon of pasteurised honey is enough to kick start fermentation. Raw honey may have an antibiotic effect and is therefore not suitable for making yogurt.

PREPARATION
It is recommended that you sterilise your yogurt making jar and utensils beforehand. We have always found it is enough to wash in hot soapy water, then rinse in boiling water before use.


PIN THIS RECIPE

BUY YOUR DAIRY-FREE STARTER CULTURE HERE


Subscribe
Sign up to get the latest on sales, new releases and more …

